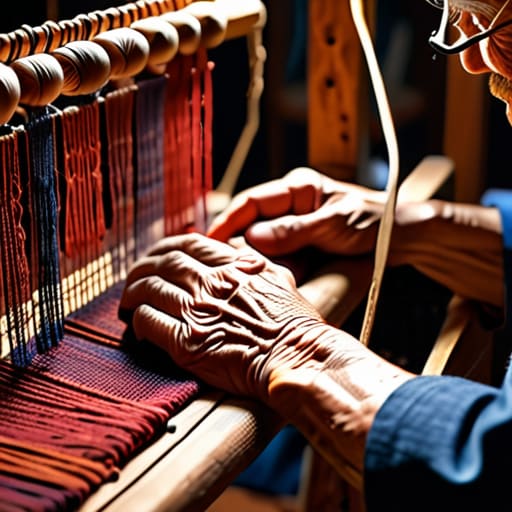
I was sitting in a small, sun-drenched cafe in Florence last spring, watching a young man struggle with a massive, high-tech loom he’d clearly bought from a catalog. He was surrounded by expensive gadgets and complex manuals, yet he looked more stressed than a site foreman during a thunderstorm. It struck me then how much we’ve complicated the simple, meditative art of tapestry weaving. People seem to think you need a degree in textile engineering and a mountain of specialized equipment just to create something beautiful. Honestly, that’s a load of nonsense. All that gear just gets in the way of the rhythm, turning a soulful process into a chore that feels more like a deadline than a reprieve.
I’m not here to sell you on the latest expensive kits or some complicated, professional-grade technique that requires a workshop. Instead, I want to share what I’ve learned about finding the steady heartbeat in the craft. I’ll walk you through the basics of tapestry weaving using nothing more than a bit of patience and some honest, tactile materials. My goal is to help you strip away the noise and focus on the slow, rewarding work of watching a pattern emerge, one thread at a time.
Table of Contents
Setting the Stage With a Gentle Tapestry Loom Setup
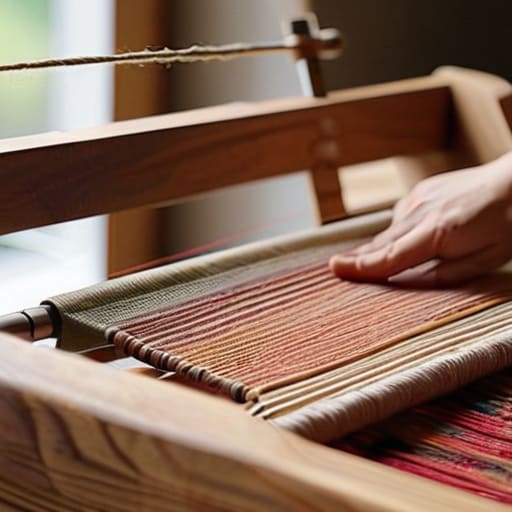
Setting up a loom isn’t something to be rushed; it’s much like preparing a well-tended garden before the first seeds go in. I find that if I try to hurry the process, I lose that sense of connection to the materials. I start by clearing my small wooden table, laying out my fiber art materials with a certain reverence. There is a particular satisfaction in feeling the weight of the wooden frame and the tension of the strings. It reminds me of the old drafting tables I used to use back in my engineering days, though this work requires a much softer touch.
The real heart of the work begins with the tapestry loom setup, specifically when you begin threading the warp. I like to sit by the window, letting the morning light guide my hands as I ensure each thread is taut and even. Understanding the relationship between the warp and weft explained through the physical tension of the threads is where the magic starts to happen. Once those vertical lines are steady and true, you aren’t just preparing a tool; you are creating the very foundation of your story.
Understanding Warp and Weft Explained Through Patient Hands
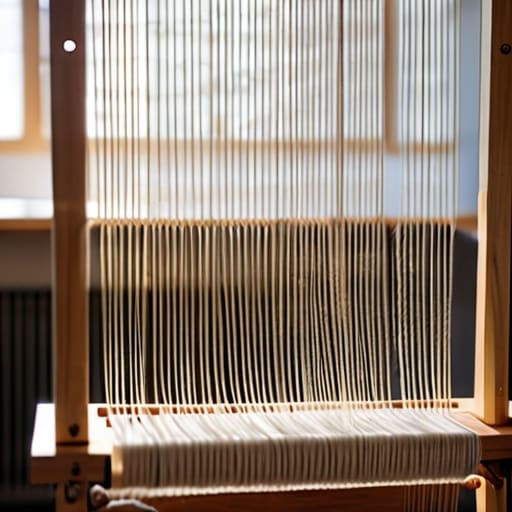
Once I have my loom settled, I find it helpful to sit for a moment and just look at the skeleton of the work. In my engineering days, we focused on the heavy steel and the tension of the cables, but here, it’s all about the delicate relationship between the vertical and the horizontal. To put it simply, warp and weft explained is really just a dance of direction. The warp threads are your foundation—the steady, vertical lines stretched tight across the frame. They are the bones of the piece. Then comes the weft, the thread that travels back and forth, weaving through those stationary lines to create the actual body of the fabric.
There is a certain meditative quality to the way my fingers move through these fiber art materials. I’ve learned that if you try to force the weft too tightly or rush the rhythm, the whole structure loses its integrity. You have to listen to the tension. I often find myself pausing to feel the resistance of the yarn, ensuring each pass is even and deliberate. It isn’t about speed; it’s about the way the colors begin to marry as the threads intersect, one slow row at a time.
Five Small Lessons Learned Between the Threads
- Don’t fight the tension; if your warp feels like a guitar string ready to snap, loosen your hand. A tapestry needs a bit of give, much like a well-built bridge, to settle into its final shape without warping.
- Treat your weft like a slow conversation. Instead of rushing to finish a row, take your time passing the shuttle through, making sure each pass is steady and intentional so the texture remains even.
- Watch your edges like a hawk. I’ve learned the hard way that if you pull too tight on the sides, your beautiful work will start to cinch inward like a drawstring bag. Keep those selvedges relaxed and honest.
- Embrace the “imperfections” of your hands. Sometimes a slight wobble in a color change or a tiny variation in thickness adds a soul to the piece that a machine could never replicate. It’s the human touch that makes it worth keeping.
- Keep a little scrap of your yarn nearby to test your colors. Just as I might sketch a landscape before committing to a final drawing, it’s worth seeing how two shades sit side-by-side before you commit them to the loom.
Lessons Learned Between the Threads
Don’t let the complexity of the loom intimidate you; treat the setup like preparing a workspace for a long project—steady, deliberate, and calm.
Respect the tension of your warp, but remember that even a little imperfection can give a piece its soul and character.
The real magic isn’t in the finished hanging on the wall, but in the quiet, rhythmic way your hands learn to move with the thread.
The Patience of the Thread
You can’t force a tapestry to appear any faster than the shuttle allows; you simply sit with the rhythm of it, one pass at a time, learning that the real beauty isn’t in the finished piece, but in the quiet steady work of getting there.
Bernard Oyelaran
The Finished Piece and the Peace It Brings
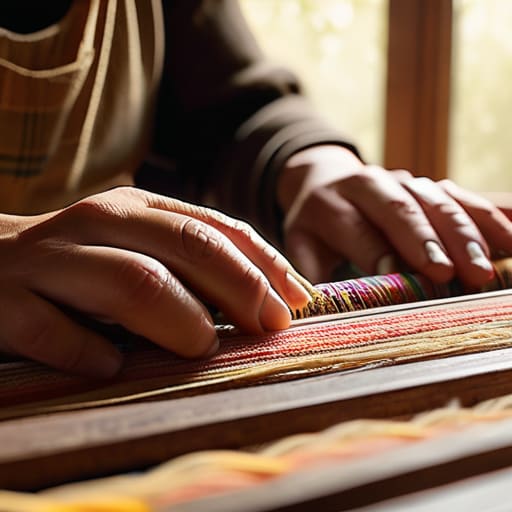
As you sit there with your loom, perhaps a bit tired but satisfied, take a moment to look back at what your hands have actually done. You’ve moved past the initial intimidation of setting up the warp and the technical dance of guiding the weft through every single pass. It isn’t about achieving some flawless, museum-quality perfection; it’s about the rhythm you found between the tension of the threads and the movement of your fingers. You’ve taken raw, separate materials and, through nothing more than patience and steady intention, turned them into something cohesive and whole.
I often find that my best work—whether it’s a restored Leica or a piece of woven fabric—doesn’t come from rushing toward the finish line. It comes from the quiet intervals in between. When you finally cut your piece from the loom, don’t just rush to hang it up. Hold it. Feel the texture. Let yourself realize that the beauty isn’t just in the final pattern, but in the hours of stillness you gifted to yourself. In a world that demands we move faster every single day, I hope you find that weaving is a way to stand still and finally breathe.
Frequently Asked Questions
How do I know when I've pulled the weft too tight and might accidentally pull my warp threads out of alignment?
It’s a common worry, and honestly, I’ve felt that same tension in my own hands. If you notice the fabric starting to pull inward, making it look narrower than the space between your warp threads, you’ve gone too tight. It starts to look pinched. Just stop, take a breath, and remember: the weft should sit snugly against the previous row, like a well-fitted stone in a dry-stack wall, but never should it struggle for space.
Are there certain types of wool or yarn that are easier on the hands when you're just starting out?
I’ve found that starting with a smooth, single-ply wool is a bit like choosing the right grade of gravel for a road—you want something reliable and forgiving. Avoid those scratchy, multi-textured blends for now; they can be quite taxing on the fingers. Look for something like a soft merino or a gentle wool-acrylic blend. They glide through your hands with a certain grace, letting you focus on the rhythm rather than the friction.
When I'm working on a piece, how do I decide when to move on to a new color without making the transitions look too abrupt?
I used to think transitions needed to be sharp, like a clean blueprint, but weaving is more like a watercolor painting. To keep things soft, try “interlocking” your threads. Instead of cutting one color and starting another, let them dance together for a few rows. I like to weave a few strands of the new color into the old one, creating a little bridge. It takes a bit more patience, but the result is a gentle, natural fade.
